> 提供代搭建以及分流规则定制、代写流媒体解锁配置、落地页以及主题等服务,详情请联系TG [button color="primary" type="round" url="https://t.me/IU_lI"]联系我!![/button] ## 前言 由于最近机场纳新,为了更好的管理节点以及用户,我弃用了x-ui并改用V2board+Xrayr来管理自己的代理节点。这个面板让我搭建节点的速度大增同时也能让我对用户的流量使用情况以及节点的状态有一个更加直观的了解,以往为了查看节点服务器的状态我还得去额外搭建一个探针,现在只需要登陆管理后台即可。 ## V2board搭建 V2board的搭建是一件非常简单的事情,装好宝塔面板后跟着[官方教程](https://docs.v2board.com/CHANGELOG.html)来就行了。不出意外的话我们很快就能安装好面板。 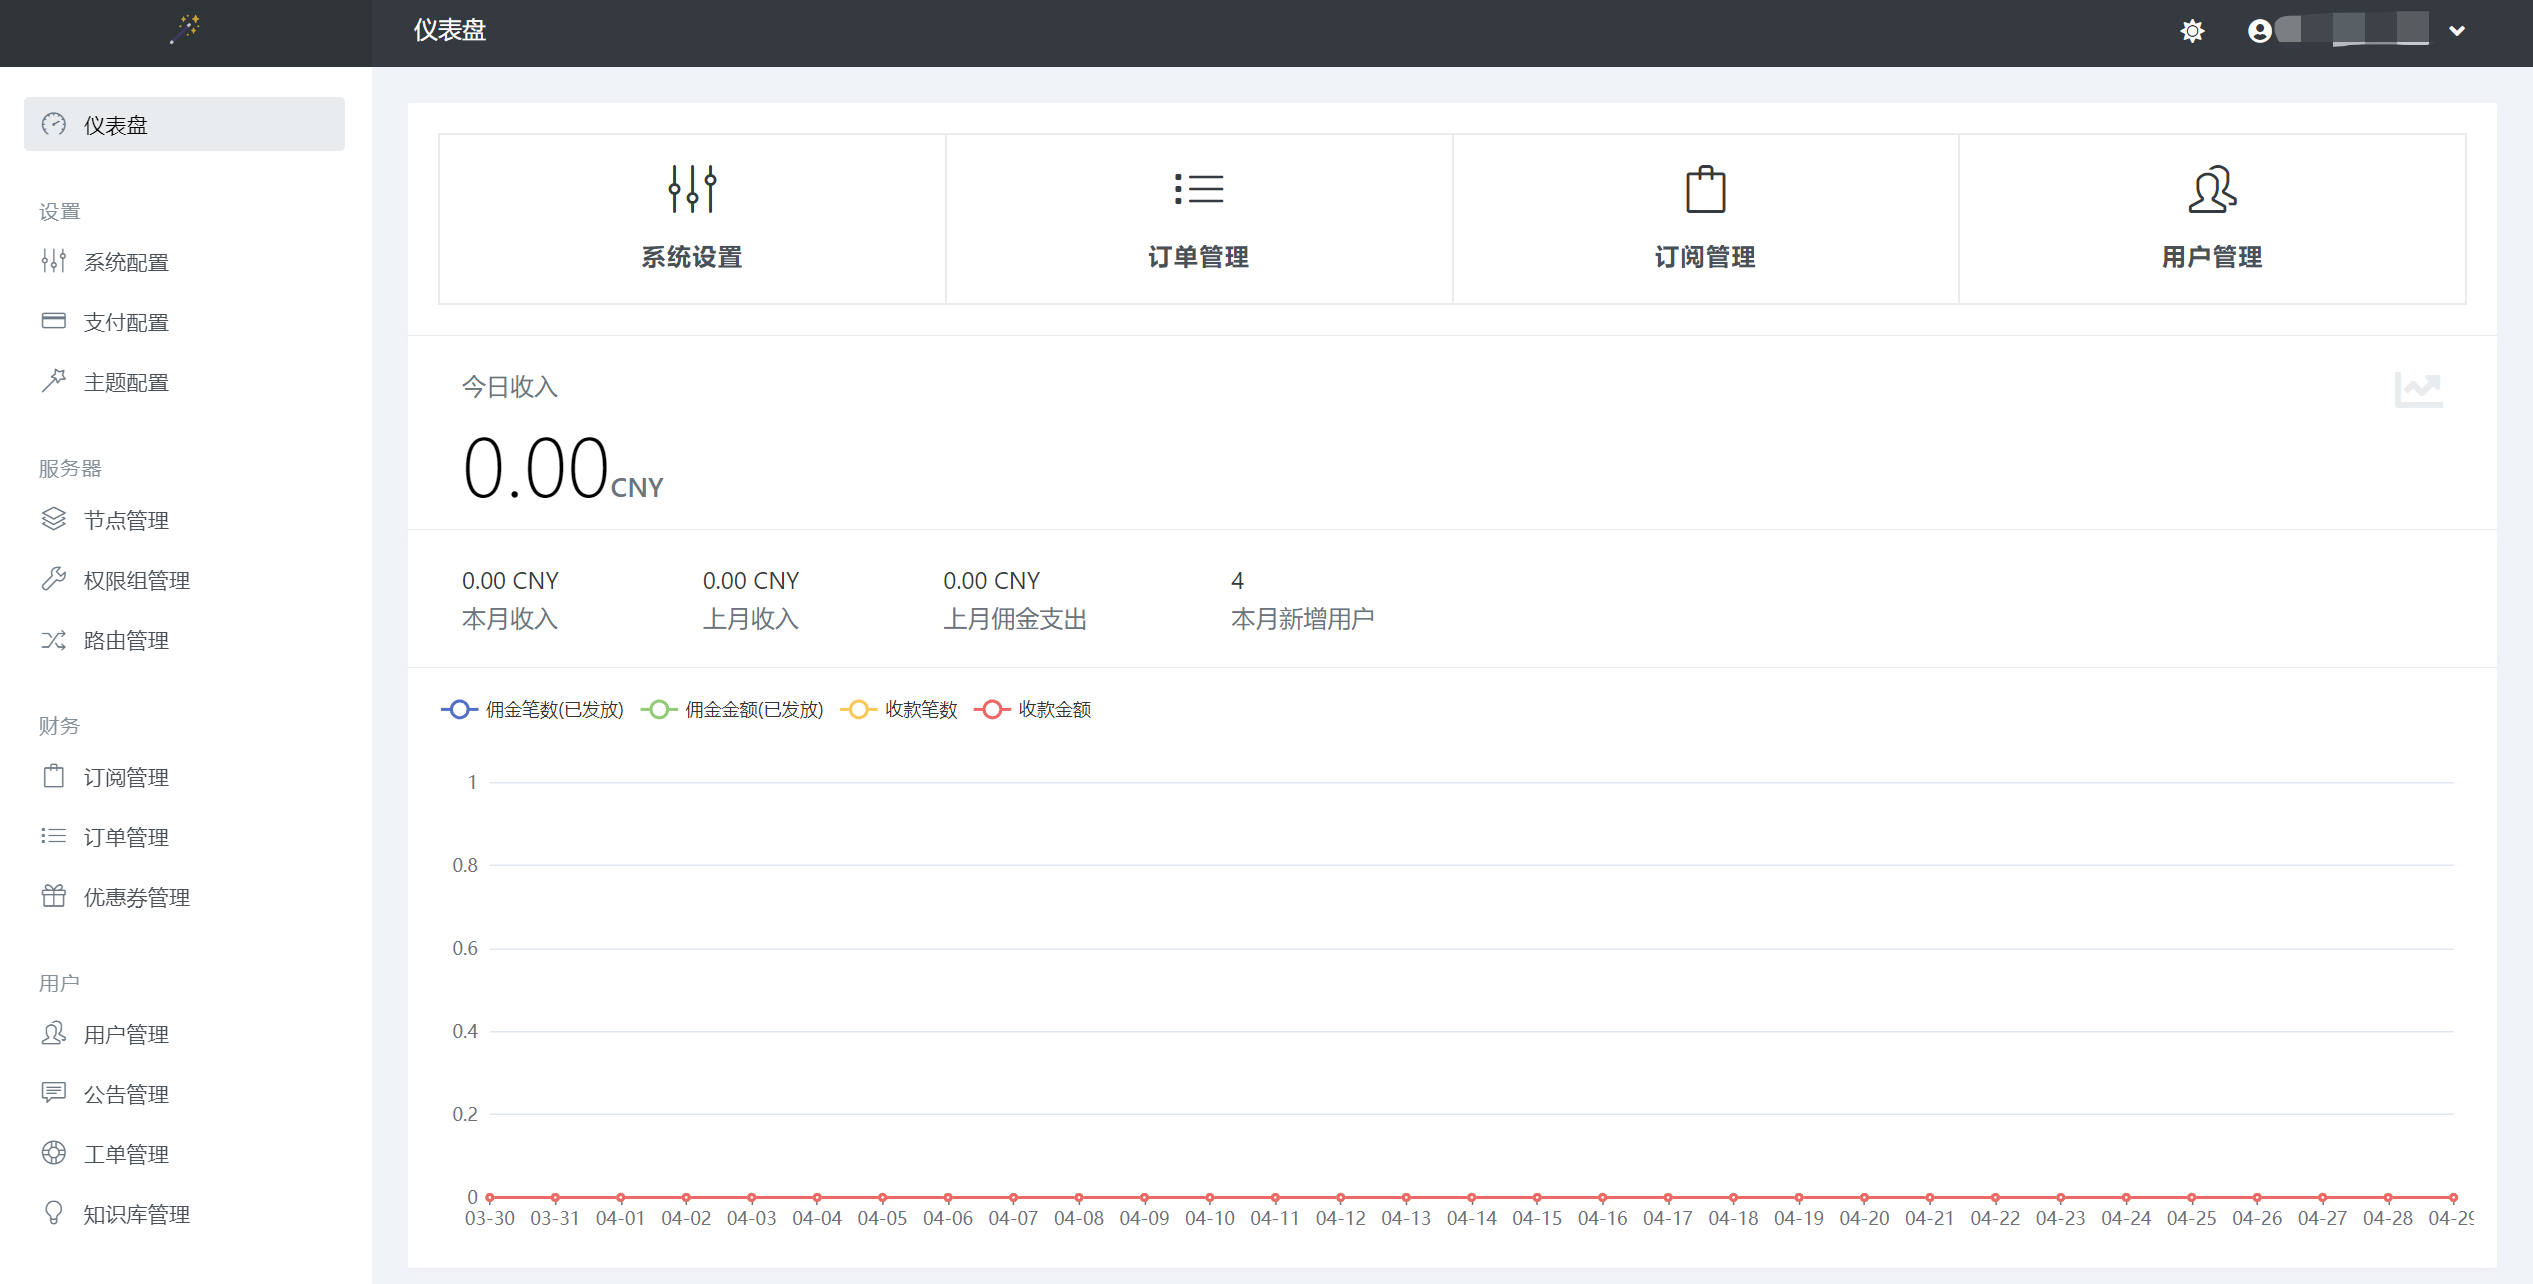 如果使用境内服务器安装面板可能会因为网络原因无法从GitHub上下载资源这时我们可以使用proxychain4来设置一下http代理。详细操作方法请看: [post cid="562" cover="" size="small"/] ## 节点对接 搭建好前端后当然就要开始对接节点了,这里我们以Trojan协议为例子。 ### 1.购买服务器 要对接节点你当然都有台节点服务器,可以从谷歌云、Vultr以及你喜欢的云服务提供商处购买。在购买后你将得到一个公网IP这时我们就要去解析域名了。 ### 2.解析域名 首先先为节点服务器做好域名解析,由于我们需要使用Cloudflare来进行ssl证书的获取请先将域名托管到Cloudflare。具体操作方式请看这篇文章: [post cid="478" cover="https://cdn.back2me.cn/typora/202204182348188.png" size=""/] 在Cloudflare中给域名一个A记录即可,注意不要打开Cloudflare的小云朵(proxy)。 ### 3.安装Xrayr SSH连接到你的节点服务器执行下面的命令安装Xrayr ```bash wget -N https://raw.githubusercontent.com/XrayR-project/XrayR-release/master/install.sh && bash install.sh ``` 命令执行完毕后我们就能在服务器的/etc/Xrayr目录下找到xrayr的配置文件。我们先回到V2board面板上点击增加节点然后根据节点的状况修改配置文件。 ### 4.增加节点 在面板的节点管理中我们点击加号即可,选择协议后我们在右边弹出来的窗口中填写节点的信息。 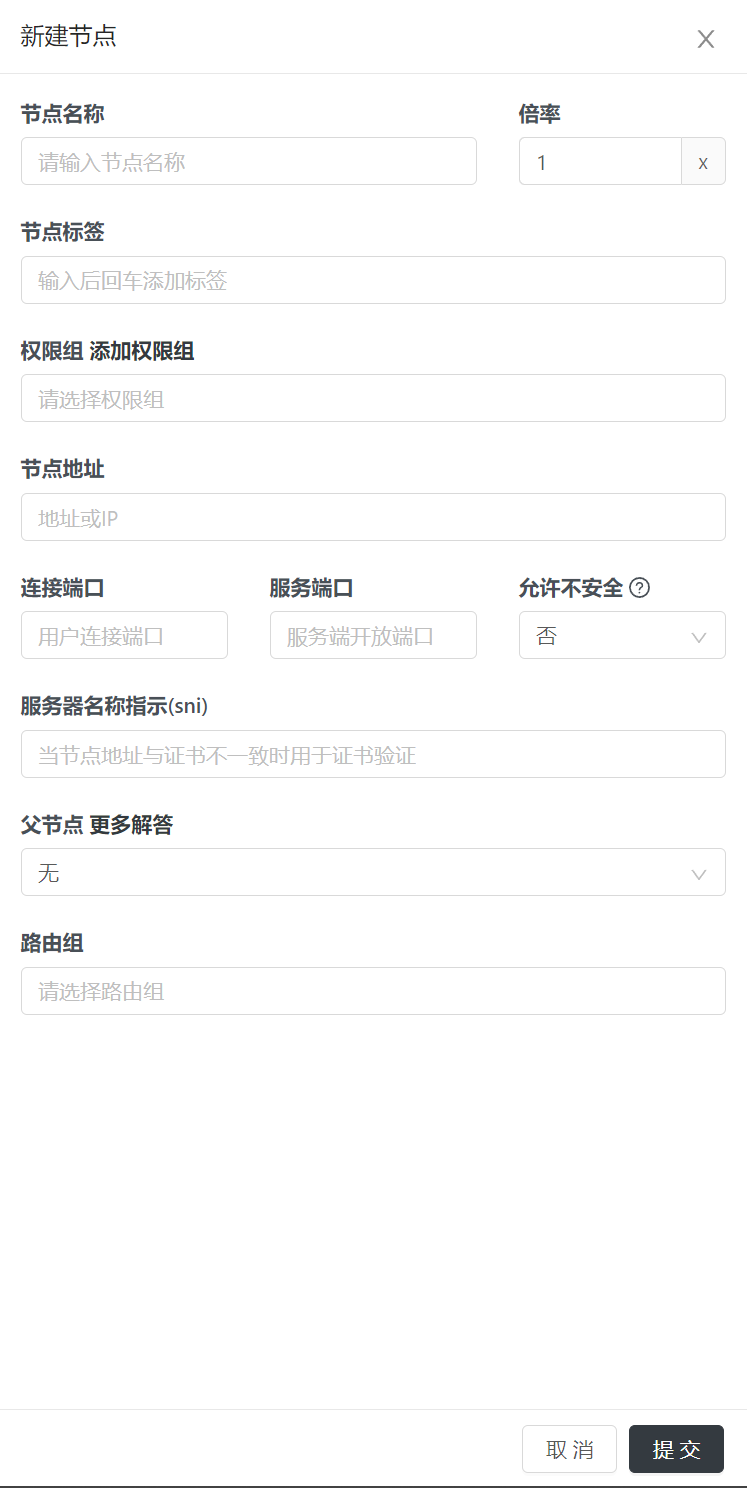 这里的重点是节点地址和端口,一般而言节点地址我们填写刚刚解析好的域名,端口我们使用443即可,sni请填写域名。权限组我们可以根据用户实际情况来自行填写。 提交后我们就能得到一个节点ID,记住这个节点ID我们在对接Xrayr的时候要用上。 ### 5.对接Xrayr 我们回到节点服务器上,我们先执行命令将/etc/Xrayr目录中的config.yml文件删除然后自己重新创建一个。 ```bash rm /etc/Xrayr/config.yml vi config.yml ``` 然后我们将下面的配置文件内容根据实际情况改好复制进去保存即可。 ```yaml Log: Level: warning # Log level: none, error, warning, info, debug AccessPath: # /etc/XrayR/access.Log ErrorPath: # /etc/XrayR/error.log DnsConfigPath: #/etc/XrayR/dns.json # Path to dns config, check https://xtls.github.io/config/dns.html for help RouteConfigPath: #/etc/XrayR/route.json # Path to route config, check https://xtls.github.io/config/routing.html for help InboundConfigPath: #/etc/XrayR/custom_inbound.json # Path to custom inbound config, check https://xtls.github.io/config/inbound.html for help OutboundConfigPath: #/etc/XrayR/custom_outbound.json # Path to custom outbound config, check https://xtls.github.io/config/outbound.html for help ConnectionConfig: Handshake: 4 # Handshake time limit, Second ConnIdle: 30 # Connection idle time limit, Second UplinkOnly: 2 # Time limit when the connection downstream is closed, Second DownlinkOnly: 4 # Time limit when the connection is closed after the uplink is closed, Second BufferSize: 64 # The internal cache size of each connection, kB Nodes: - PanelType: "V2board" # Panel type: SSpanel, V2board, NewV2board, PMpanel, Proxypanel, V2RaySocks ApiConfig: ApiHost: "https://xxx.xxx.com" ApiKey: "passwd" NodeID: 1 NodeType: Trojan # Node type: V2ray, Shadowsocks, Trojan, Shadowsocks-Plugin Timeout: 120 # Timeout for the api request EnableVless: false # Enable Vless for V2ray Type EnableXTLS: false # Enable XTLS for V2ray and Trojan SpeedLimit: 0 # Mbps, Local settings will replace remote settings, 0 means disable DeviceLimit: 0 # Local settings will replace remote settings, 0 means disable RuleListPath: # /etc/XrayR/rulelist Path to local rulelist file ControllerConfig: ListenIP: 0.0.0.0 # IP address you want to listen SendIP: 0.0.0.0 # IP address you want to send pacakage UpdatePeriodic: 60 # Time to update the nodeinfo, how many sec. EnableDNS: false # Use custom DNS config, Please ensure that you set the dns.json well DNSType: AsIs # AsIs, UseIP, UseIPv4, UseIPv6, DNS strategy EnableProxyProtocol: false # Only works for WebSocket and TCP AutoSpeedLimitConfig: Limit: 0 # Warned speed. Set to 0 to disable AutoSpeedLimit (mbps) WarnTimes: 0 # After (WarnTimes) consecutive warnings, the user will be limited. Set to 0 to punish overspeed user immediately. LimitSpeed: 0 # The speedlimit of a limited user (unit: mbps) LimitDuration: 0 # How many minutes will the limiting last (unit: minute) GlobalDeviceLimitConfig: Enable: false # Enable the global device limit of a user RedisAddr: 127.0.0.1:6379 # The redis server address RedisPassword: YOUR PASSWORD # Redis password RedisDB: 0 # Redis DB Timeout: 5 # Timeout for redis request Expiry: 60 # Expiry time (second) EnableFallback: false # Only support for Trojan and Vless FallBackConfigs: # Support multiple fallbacks - SNI: # TLS SNI(Server Name Indication), Empty for any Alpn: # Alpn, Empty for any Path: # HTTP PATH, Empty for any Dest: 80 # Required, Destination of fallback, check https://xtls.github.io/config/features/fallback.html for details. ProxyProtocolVer: 0 # Send PROXY protocol version, 0 for dsable CertConfig: CertMode: dns # Option about how to get certificate: none, file, http, tls, dns. Choose "none" will forcedly disable the tls config. CertDomain: "xx.xxx.xx" # 填入你的域名 CertFile: /etc/XrayR/cert/node1.test.com.cert # Provided if the CertMode is file KeyFile: /etc/XrayR/cert/node1.test.com.key Provider: cloudflare # DNS cert provider, Get the full support list here: https://go-acme.github.io/lego/dns/ Email: i@qq.com DNSEnv: # DNS ENV option used by DNS provider CLOUDFLARE_EMAIL: 1@qq.com CLOUDFLARE_API_KEY: 1234dfsdfa87888 ``` 这里要改的地方如下请根据实际情况一一对应 | **PanelType** | **Apihost** | **Apikey** | **NodeID** | | --------------- | --------------------- | -------------- | -------------- | | **面板类型** | **v2board面板地址** | **面板密钥** | **节点编号** | | **NodeType** | **CertDomain** | **CLOUDFLARE_EMAIL** | **CLOUDFLARE_API_KEY** | | -------------- | ---------------- | ---------------------- | ------------------------ | | **节点类型** | **节点域名** | **CF用户名** | **CF全局密钥** | ### 6.启动xrayr 填写完配置文件后我们在节点服务器是SSH中输入xrayr然后输入6回车即可。 不出意外的话我们的节点就能亮起来了。  ## 分流规则替换 这是一个进阶选项,我们在使用 Clash 内核的客户端时我们可以在 V2board 的服务端写好 customer.clash.yaml 文件来为客户端下发带有流量规则的订阅,这样我们便可以控制我们的网络流量,让该走代理的流量走代理,该直连的流量直连。让用户有更好的体验。毕竟我们并不需要让我们访问百度等境内网站的流量也经过代理。 在使用Clash等客户端时我们能够自定义代理规则集。在V2board的安装目录下找到`/resources/rules`目录然后替换`custom.clash.yaml`即可。 ## 解锁流媒体 在使用x-ui时我们使用的是修改配置文件中的outbound和route的方式来实现解锁流媒体,具体操作方法看这篇文章: [post cid="419" cover="" size="small"/] 在使用Xrayr的时候我们也可以通过这种方法来解锁流媒体。具体的方法为将XrarR目录中的config.yml文件中的`RouteConfigPath`和`OutboundConfigPath`路径前的注释给删掉然后去修改XrayR目录下这两个文件。 #### RouteConfigPath配置写法 ```json { "domainStrategy": "IPOnDemand", "rules": [ { "type": "field", "outboundTag": "unlock", "domain": ["geosite:netflix","nflxvideo.net","nflxext.com","nflxso.net"] } ] } ``` [scode type="blue" size=""]可根据需求将Disney+的解锁也加上[/scode] #### OutboundConfigPath配置文件写法 ```json [ { "tag": "unlock", "protocol": "vmess", "settings": { "vnext": [{ "address": "1.2.3.4", "port": 80, "users": [{ "id": "9154800a-210a-437f-a547-67e3fdfeafc47", "security": "auto", "alterId": 0 }] }] } } ] ``` [scode type="blue" size=""]协议端口请自行替换,符合协议标准即可[/scode] 然后重启xrayr即可。 ## 主题以及落地页 #### 主题 我们可以更换主题让V2board看起来更美观 下面是一些主题预览: 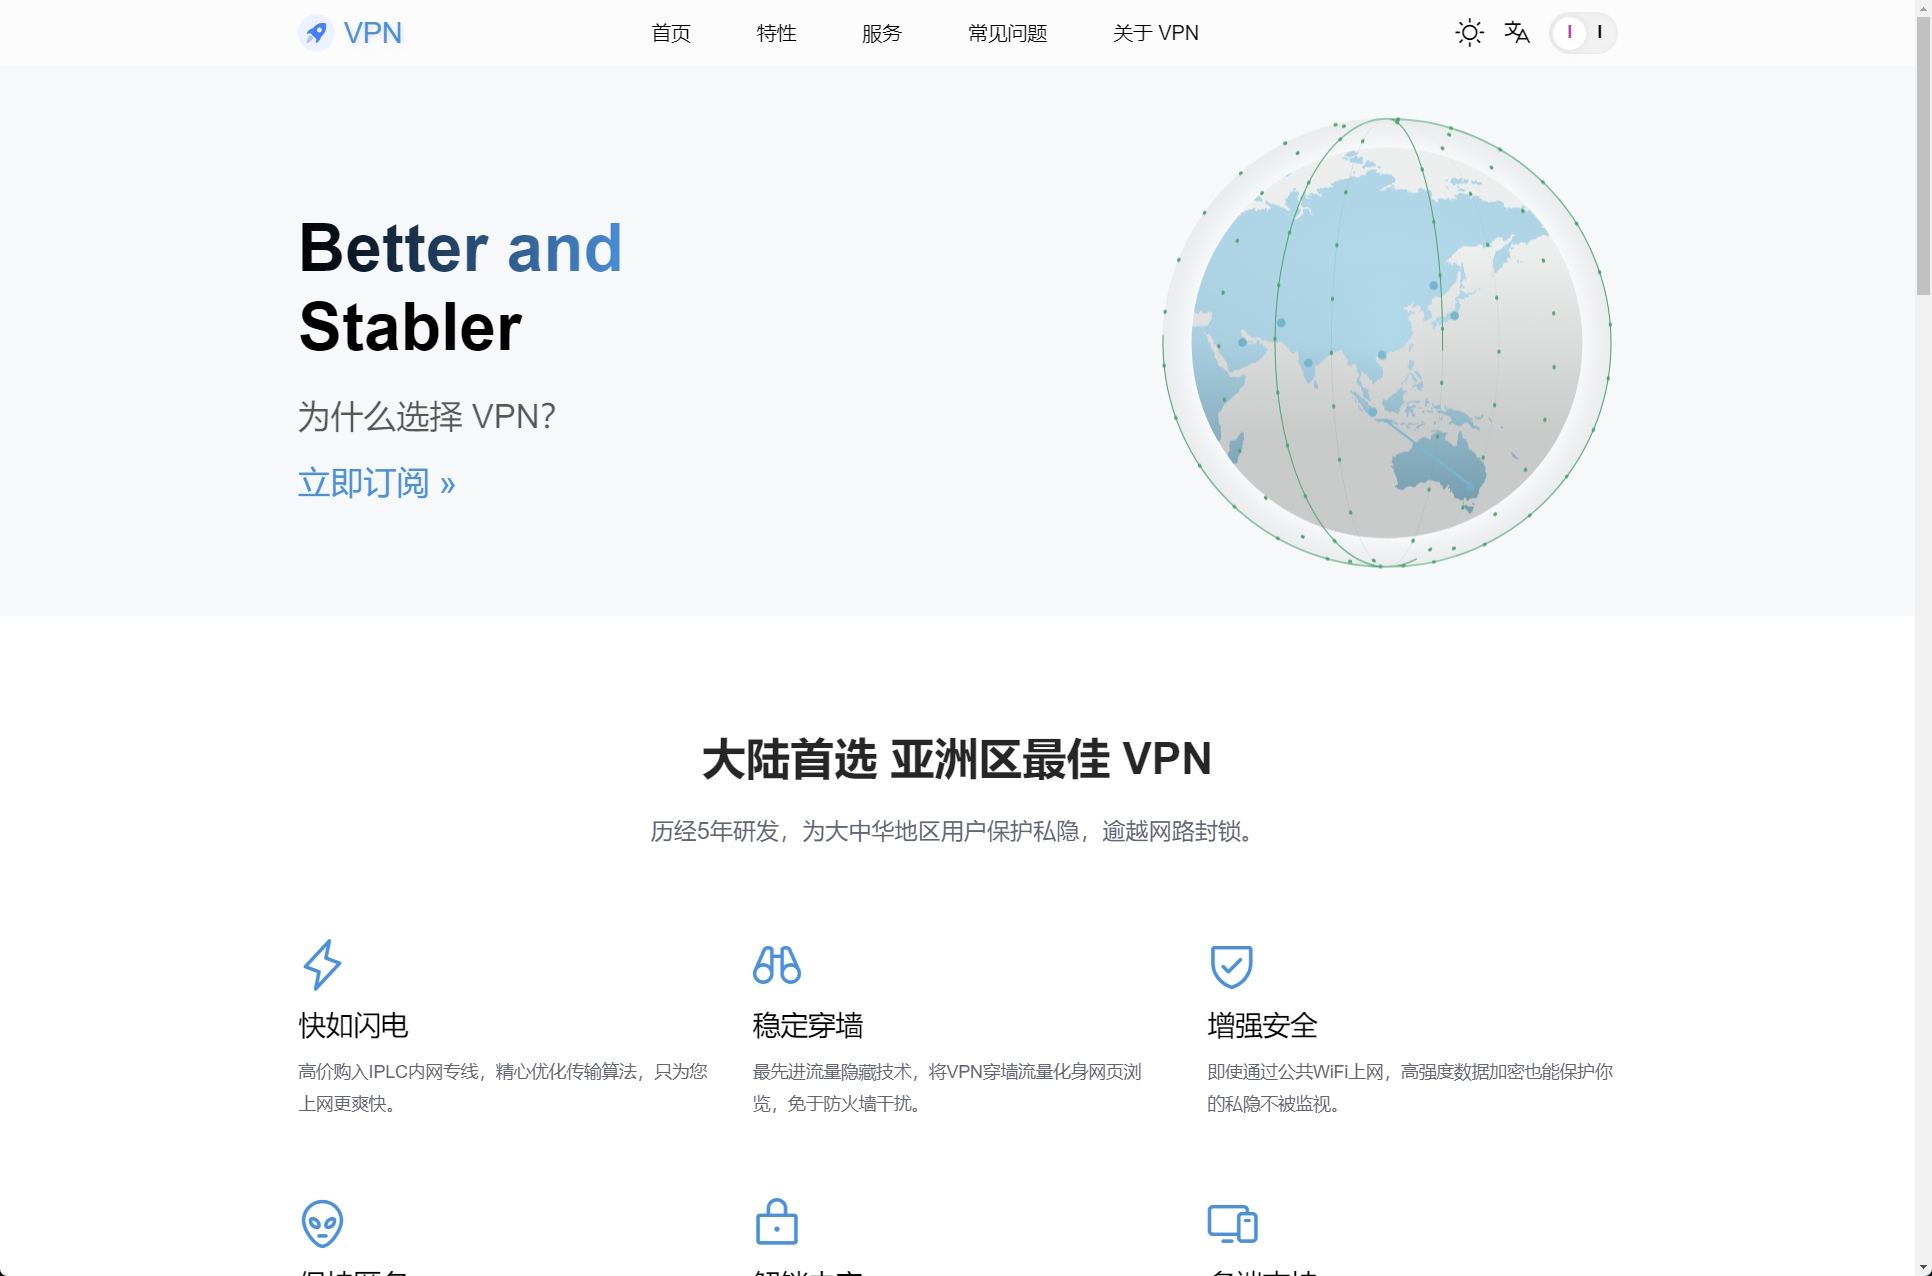 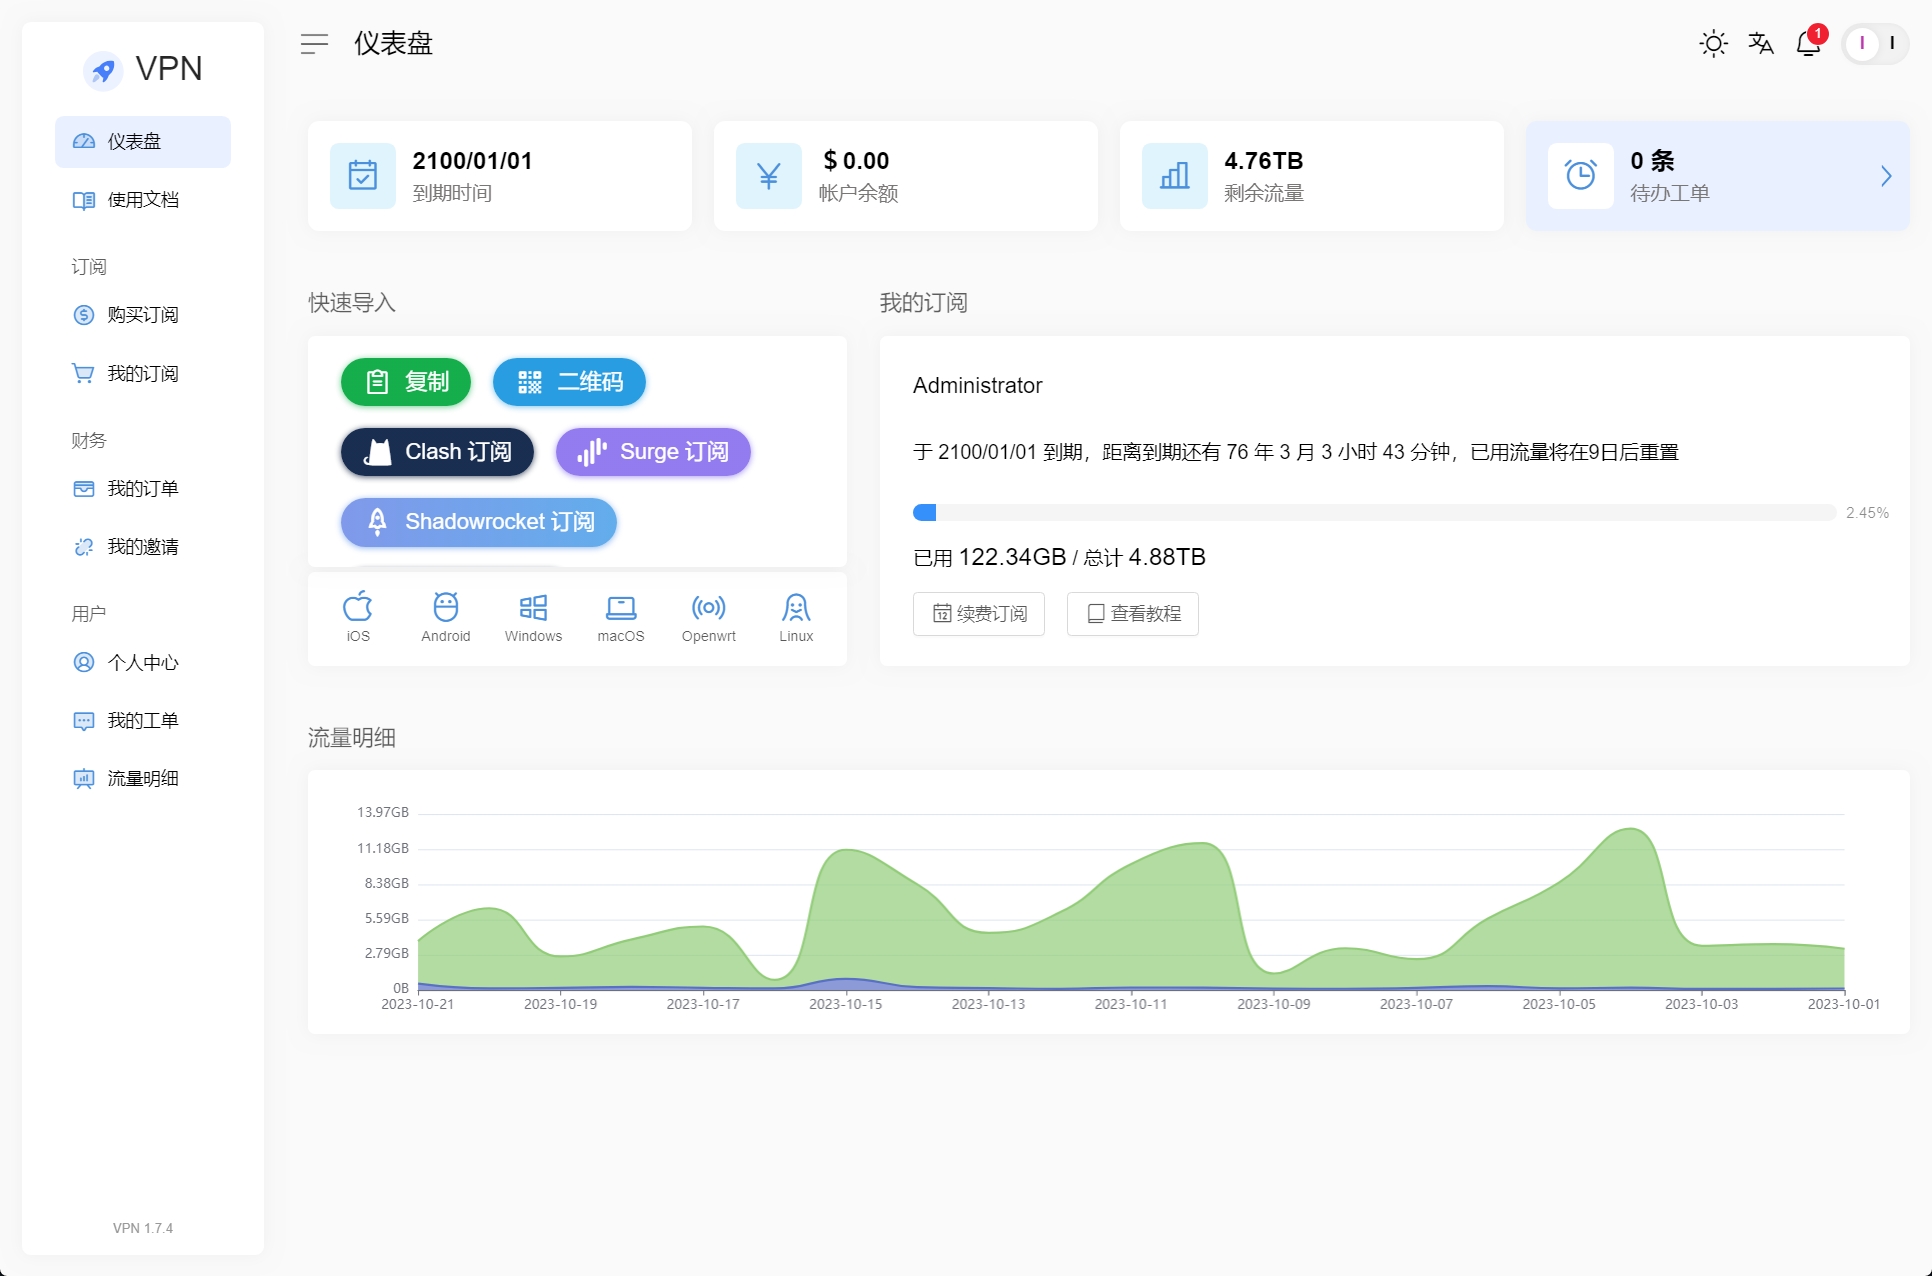 Loading... > 提供代搭建以及分流规则定制、代写流媒体解锁配置、落地页以及主题等服务,详情请联系TG <button class=" btn m-b-xs btn-primary btn-rounded " onclick="window.open('https://t.me/IU_lI','_blank')">联系我!!</button> ## 前言 由于最近机场纳新,为了更好的管理节点以及用户,我弃用了x-ui并改用V2board+Xrayr来管理自己的代理节点。这个面板让我搭建节点的速度大增同时也能让我对用户的流量使用情况以及节点的状态有一个更加直观的了解,以往为了查看节点服务器的状态我还得去额外搭建一个探针,现在只需要登陆管理后台即可。 ## V2board搭建 V2board的搭建是一件非常简单的事情,装好宝塔面板后跟着[官方教程](https://docs.v2board.com/CHANGELOG.html)来就行了。不出意外的话我们很快就能安装好面板。  如果使用境内服务器安装面板可能会因为网络原因无法从GitHub上下载资源这时我们可以使用proxychain4来设置一下http代理。详细操作方法请看: <a class="post_link hover_content_card " href="https://www.liu.li/skills/proxychains.html" data-title="最后修改:2024 年 02 月 15 日" data-content="Proxychains简介在平时我们使用国内服务器的时候在下载Github或者其他外网资源时经常会出现连接不上或者速度很慢的问题,我们可以使用Proxychains4给服务器做一个全局代理来快速下载资源。项目地址:使用方法使用Debian/Ubuntu系统时我们可以通过包管理器来安装Proxychains4sudo apt-get install -y proxychains4在安装完毕后我..."><i data-feather="file-text"></i>proxychains4简单教程 </a> ## 节点对接 搭建好前端后当然就要开始对接节点了,这里我们以Trojan协议为例子。 ### 1.购买服务器 要对接节点你当然都有台节点服务器,可以从谷歌云、Vultr以及你喜欢的云服务提供商处购买。在购买后你将得到一个公网IP这时我们就要去解析域名了。 ### 2.解析域名 首先先为节点服务器做好域名解析,由于我们需要使用Cloudflare来进行ssl证书的获取请先将域名托管到Cloudflare。具体操作方式请看这篇文章: <div class="preview"> <div class="post-inser post box-shadow-wrap-normal"> <a href="https://www.liu.li/skills/cloudflare.html" target="_blank" class="post_inser_a no-external-link no-underline-link"> <div class="inner-image bg" style="background-image: url(https://cdn.back2me.cn/typora/202204182348188.png);background-size: cover;"></div> <div class="inner-content" > <p class="inser-title">如何将域名托管到cloudflare</p> <div class="inster-summary text-muted"> 简单几步将域名托管到cloudflare </div> </div> </a> <!-- .inner-content #####--> </div> <!-- .post-inser ####--> </div> 在Cloudflare中给域名一个A记录即可,注意不要打开Cloudflare的小云朵(proxy)。 ### 3.安装Xrayr SSH连接到你的节点服务器执行下面的命令安装Xrayr ```bash wget -N https://raw.githubusercontent.com/XrayR-project/XrayR-release/master/install.sh && bash install.sh ``` 命令执行完毕后我们就能在服务器的/etc/Xrayr目录下找到xrayr的配置文件。我们先回到V2board面板上点击增加节点然后根据节点的状况修改配置文件。 ### 4.增加节点 在面板的节点管理中我们点击加号即可,选择协议后我们在右边弹出来的窗口中填写节点的信息。  这里的重点是节点地址和端口,一般而言节点地址我们填写刚刚解析好的域名,端口我们使用443即可,sni请填写域名。权限组我们可以根据用户实际情况来自行填写。 提交后我们就能得到一个节点ID,记住这个节点ID我们在对接Xrayr的时候要用上。 ### 5.对接Xrayr 我们回到节点服务器上,我们先执行命令将/etc/Xrayr目录中的config.yml文件删除然后自己重新创建一个。 ```bash rm /etc/Xrayr/config.yml vi config.yml ``` 然后我们将下面的配置文件内容根据实际情况改好复制进去保存即可。 ```yaml Log: Level: warning # Log level: none, error, warning, info, debug AccessPath: # /etc/XrayR/access.Log ErrorPath: # /etc/XrayR/error.log DnsConfigPath: #/etc/XrayR/dns.json # Path to dns config, check https://xtls.github.io/config/dns.html for help RouteConfigPath: #/etc/XrayR/route.json # Path to route config, check https://xtls.github.io/config/routing.html for help InboundConfigPath: #/etc/XrayR/custom_inbound.json # Path to custom inbound config, check https://xtls.github.io/config/inbound.html for help OutboundConfigPath: #/etc/XrayR/custom_outbound.json # Path to custom outbound config, check https://xtls.github.io/config/outbound.html for help ConnectionConfig: Handshake: 4 # Handshake time limit, Second ConnIdle: 30 # Connection idle time limit, Second UplinkOnly: 2 # Time limit when the connection downstream is closed, Second DownlinkOnly: 4 # Time limit when the connection is closed after the uplink is closed, Second BufferSize: 64 # The internal cache size of each connection, kB Nodes: - PanelType: "V2board" # Panel type: SSpanel, V2board, NewV2board, PMpanel, Proxypanel, V2RaySocks ApiConfig: ApiHost: "https://xxx.xxx.com" ApiKey: "passwd" NodeID: 1 NodeType: Trojan # Node type: V2ray, Shadowsocks, Trojan, Shadowsocks-Plugin Timeout: 120 # Timeout for the api request EnableVless: false # Enable Vless for V2ray Type EnableXTLS: false # Enable XTLS for V2ray and Trojan SpeedLimit: 0 # Mbps, Local settings will replace remote settings, 0 means disable DeviceLimit: 0 # Local settings will replace remote settings, 0 means disable RuleListPath: # /etc/XrayR/rulelist Path to local rulelist file ControllerConfig: ListenIP: 0.0.0.0 # IP address you want to listen SendIP: 0.0.0.0 # IP address you want to send pacakage UpdatePeriodic: 60 # Time to update the nodeinfo, how many sec. EnableDNS: false # Use custom DNS config, Please ensure that you set the dns.json well DNSType: AsIs # AsIs, UseIP, UseIPv4, UseIPv6, DNS strategy EnableProxyProtocol: false # Only works for WebSocket and TCP AutoSpeedLimitConfig: Limit: 0 # Warned speed. Set to 0 to disable AutoSpeedLimit (mbps) WarnTimes: 0 # After (WarnTimes) consecutive warnings, the user will be limited. Set to 0 to punish overspeed user immediately. LimitSpeed: 0 # The speedlimit of a limited user (unit: mbps) LimitDuration: 0 # How many minutes will the limiting last (unit: minute) GlobalDeviceLimitConfig: Enable: false # Enable the global device limit of a user RedisAddr: 127.0.0.1:6379 # The redis server address RedisPassword: YOUR PASSWORD # Redis password RedisDB: 0 # Redis DB Timeout: 5 # Timeout for redis request Expiry: 60 # Expiry time (second) EnableFallback: false # Only support for Trojan and Vless FallBackConfigs: # Support multiple fallbacks - SNI: # TLS SNI(Server Name Indication), Empty for any Alpn: # Alpn, Empty for any Path: # HTTP PATH, Empty for any Dest: 80 # Required, Destination of fallback, check https://xtls.github.io/config/features/fallback.html for details. ProxyProtocolVer: 0 # Send PROXY protocol version, 0 for dsable CertConfig: CertMode: dns # Option about how to get certificate: none, file, http, tls, dns. Choose "none" will forcedly disable the tls config. CertDomain: "xx.xxx.xx" # 填入你的域名 CertFile: /etc/XrayR/cert/node1.test.com.cert # Provided if the CertMode is file KeyFile: /etc/XrayR/cert/node1.test.com.key Provider: cloudflare # DNS cert provider, Get the full support list here: https://go-acme.github.io/lego/dns/ Email: i@qq.com DNSEnv: # DNS ENV option used by DNS provider CLOUDFLARE_EMAIL: 1@qq.com CLOUDFLARE_API_KEY: 1234dfsdfa87888 ``` 这里要改的地方如下请根据实际情况一一对应 | **PanelType** | **Apihost** | **Apikey** | **NodeID** | | --------------- | --------------------- | -------------- | -------------- | | **面板类型** | **v2board面板地址** | **面板密钥** | **节点编号** | | **NodeType** | **CertDomain** | **CLOUDFLARE_EMAIL** | **CLOUDFLARE_API_KEY** | | -------------- | ---------------- | ---------------------- | ------------------------ | | **节点类型** | **节点域名** | **CF用户名** | **CF全局密钥** | ### 6.启动xrayr 填写完配置文件后我们在节点服务器是SSH中输入xrayr然后输入6回车即可。 不出意外的话我们的节点就能亮起来了。  ## 分流规则替换 这是一个进阶选项,我们在使用 Clash 内核的客户端时我们可以在 V2board 的服务端写好 customer.clash.yaml 文件来为客户端下发带有流量规则的订阅,这样我们便可以控制我们的网络流量,让该走代理的流量走代理,该直连的流量直连。让用户有更好的体验。毕竟我们并不需要让我们访问百度等境内网站的流量也经过代理。 在使用Clash等客户端时我们能够自定义代理规则集。在V2board的安装目录下找到`/resources/rules`目录然后替换`custom.clash.yaml`即可。 ## 解锁流媒体 在使用x-ui时我们使用的是修改配置文件中的outbound和route的方式来实现解锁流媒体,具体操作方法看这篇文章: <a class="post_link hover_content_card " href="https://www.liu.li/skills/xui-Netflix.html" data-title="最后修改:2023 年 10 月 22 日" data-content="写的很详细了别再问我问题了,提供代写配置服务,有需要直接打钱就好。什么是中转为了观看网剧我们经常会购买新加坡日本等地的服务器代理Netflix的流量,而拥有原生IP的服务器往往在线路上对国内用户并不是非常的友好。这时我们就可以通过中转的方式来加速以提升观看体验。打个比方你有两台服务器,一台新加坡的可以解锁Netflix所有剧集(下称VPS1),但是直连速度并不理想。而另一台美国的CN2 gi..."><i data-feather="file-text"></i>使用x-ui面板中转流量解锁流媒体 </a> 在使用Xrayr的时候我们也可以通过这种方法来解锁流媒体。具体的方法为将XrarR目录中的config.yml文件中的`RouteConfigPath`和`OutboundConfigPath`路径前的注释给删掉然后去修改XrayR目录下这两个文件。 #### RouteConfigPath配置写法 ```json { "domainStrategy": "IPOnDemand", "rules": [ { "type": "field", "outboundTag": "unlock", "domain": ["geosite:netflix","nflxvideo.net","nflxext.com","nflxso.net"] } ] } ``` <div class="tip inlineBlock info"> 可根据需求将Disney+的解锁也加上 </div> #### OutboundConfigPath配置文件写法 ```json [ { "tag": "unlock", "protocol": "vmess", "settings": { "vnext": [{ "address": "1.2.3.4", "port": 80, "users": [{ "id": "9154800a-210a-437f-a547-67e3fdfeafc47", "security": "auto", "alterId": 0 }] }] } } ] ``` <div class="tip inlineBlock info"> 协议端口请自行替换,符合协议标准即可 </div> 然后重启xrayr即可。 ## 主题以及落地页 #### 主题 我们可以更换主题让V2board看起来更美观 下面是一些主题预览:   最后修改:2023 年 10 月 22 日 © 允许规范转载 打赏 赞赏作者 赞 6 如果觉得我的文章对你有用,请随意赞赏
19 条评论
你确定你在config.yml中将路由和出站的那行的注释去掉了吗?
v2board自带的dns?你用的协议是是vmess吧 我之前使用trojan配置面板的dns并没有生效。
是vmess 用这个https://xrayr-project.github.io/XrayR-doc/gong-neng-shuo-ming/dns.html
嗷我懂了hhhh我以为你说的v2board的dns指的是面板上的审计功能的dns。改后端文件配置起来就比较麻烦了,特别是节点多的时候。我是习惯于直接把机器的nameserver直接改了。
楼主这个应该怎么改端口呀,例如我不想用443 想用其他的
这个主题页哪来的
50U帮你打包一份
20R,帮你改一份你想要的规则。加我TG
直接用TG
楼主的地址扔一个,我要购买
是给亲友使用的非卖品。
博主好,请问同一个Xrayr可以对接俩个v2board吗
我没试过,你可以自行修改一下配置文件